Oct 14, 2015 | Dairy Free, Entrees, Nut Free
Bacon, Bacon, Bacon … oh wait, that’s another post.
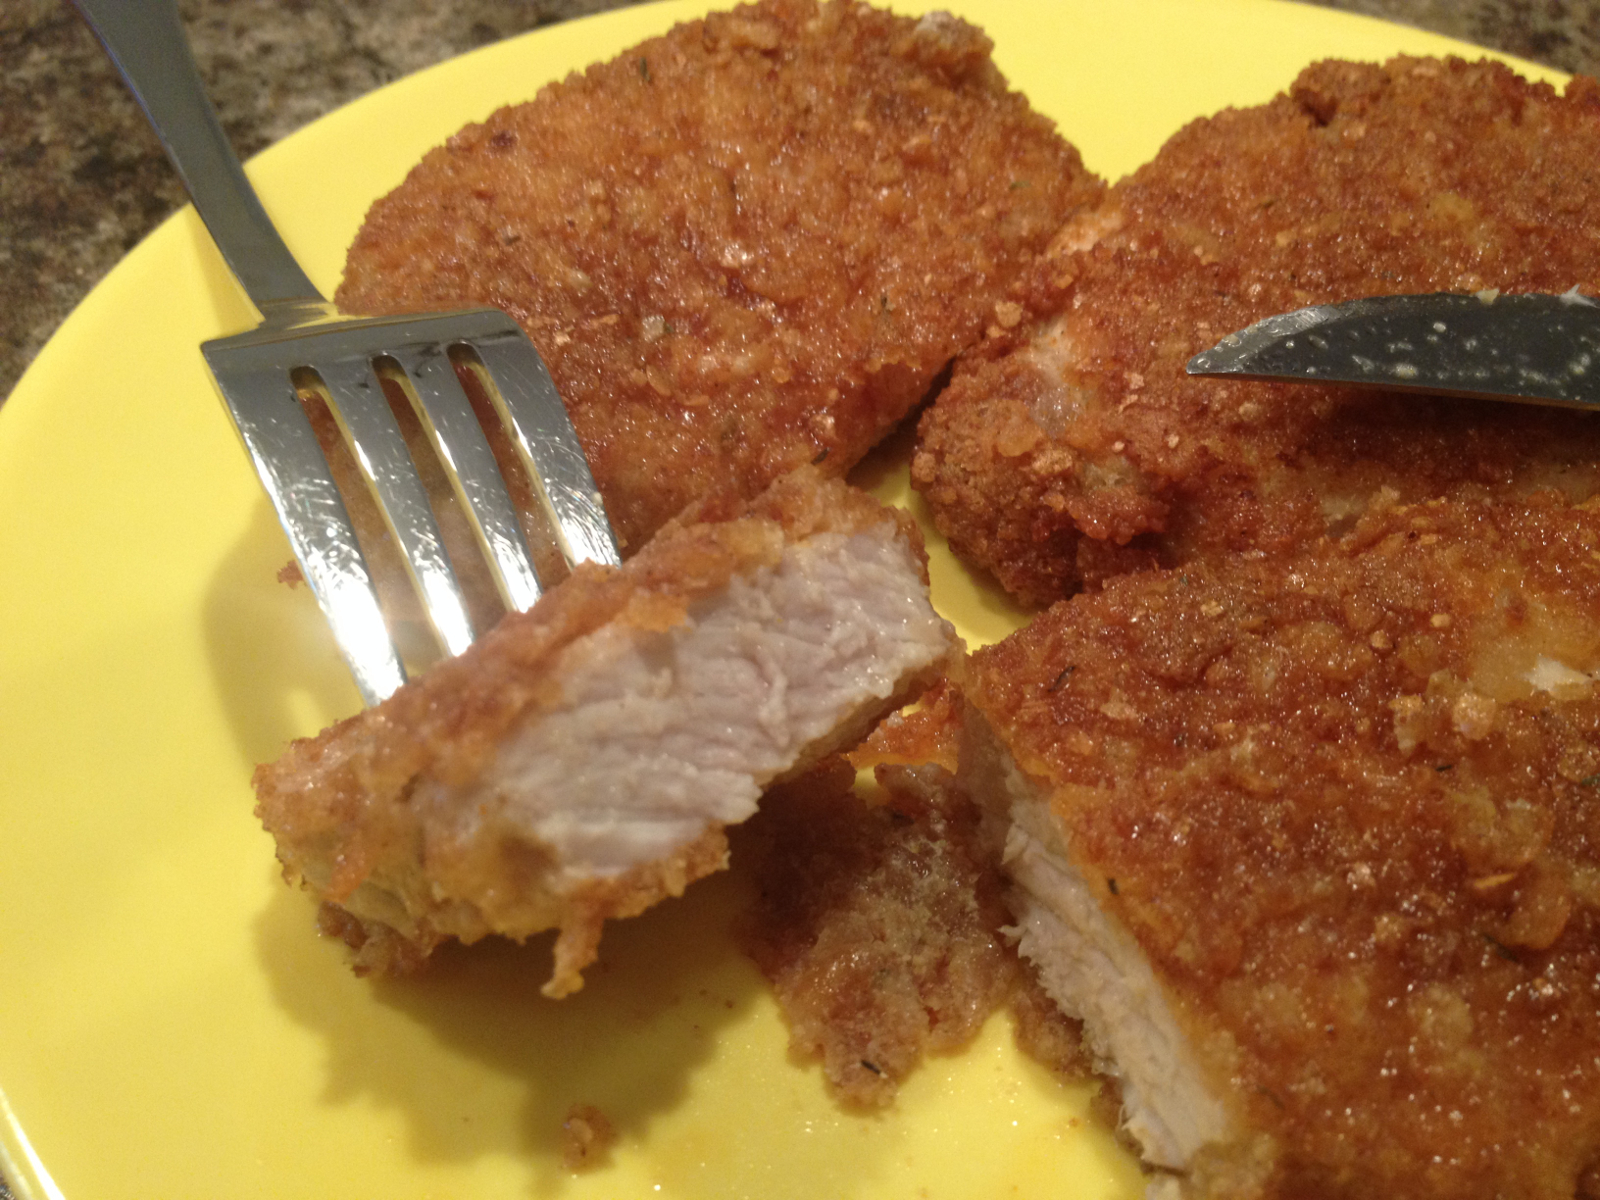
Pork, Pork, Pork. There we go! That’s much better. I’ve proclaimed my love for the other white meat many times on this site. And I’m about to do it again!
With my wife and children not doing GF as a standard, I have been given free reign to come up with my own dinners for the most part. I usually cook sides or the main dish that we can all eat and then I deviate from there. So this recipe came from one of those evenings of my deviating from their planned meal.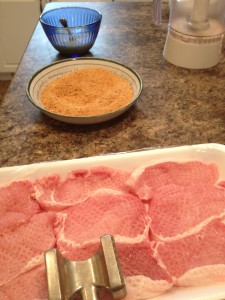
I’ve always loved what has been lovingly termed country-fried or chicken-fried pork chops. It seems a little odd to me to call something chicken-fried, especially chicken-fried chicken, when it’s just breaded and fried. But I digress …
Since normal flour is verboten with Celiac Disease, one is left to use either GF flour or come up with alternatives. I’ve always been intrigued by different breadings as well, hence the pretzel crust!
With the added seasonings, the pretzels form a nice crunchy crust that proves without a doubt that GF is Not Taste Free!
Jerk Pretzel Pork
2 eggs
9 pork chops
2 cups Glutino pretzels
1 tbsp Caribbean Jerk seasoning
1 tbsp garlic powder
1 tbsp seasoning salt
- As your oil heats in your frying pan, tenderize your meat and beat your eggs.
- To make the coating you will need to grind your pretzels. I used a food processor and got a very nice blend on the pretzels, not quite dust but processed enough that it wasn’t large chunks.
- Mix the seasoning with the crumbs.
- You should have enough crumbs and eggs to double dip your pork: egg, crumbs, egg, crumbs, frying pan.
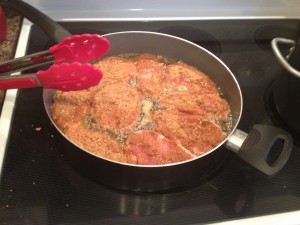
- Try to flip them as little as possible to let the crumbs create a crust – and don’t have your heat too high. If you burn the crust before the meat is cooked, it will crumble off and just be a disgusting mess. Try about 3-4 minutes each side on about medium heat and then check them. A little pink won’t kill you and remember that your meat cooks up a bit as it sits anyways.
Oct 6, 2015 | Appetizers, Dairy Free, Egg Free, Nut Free
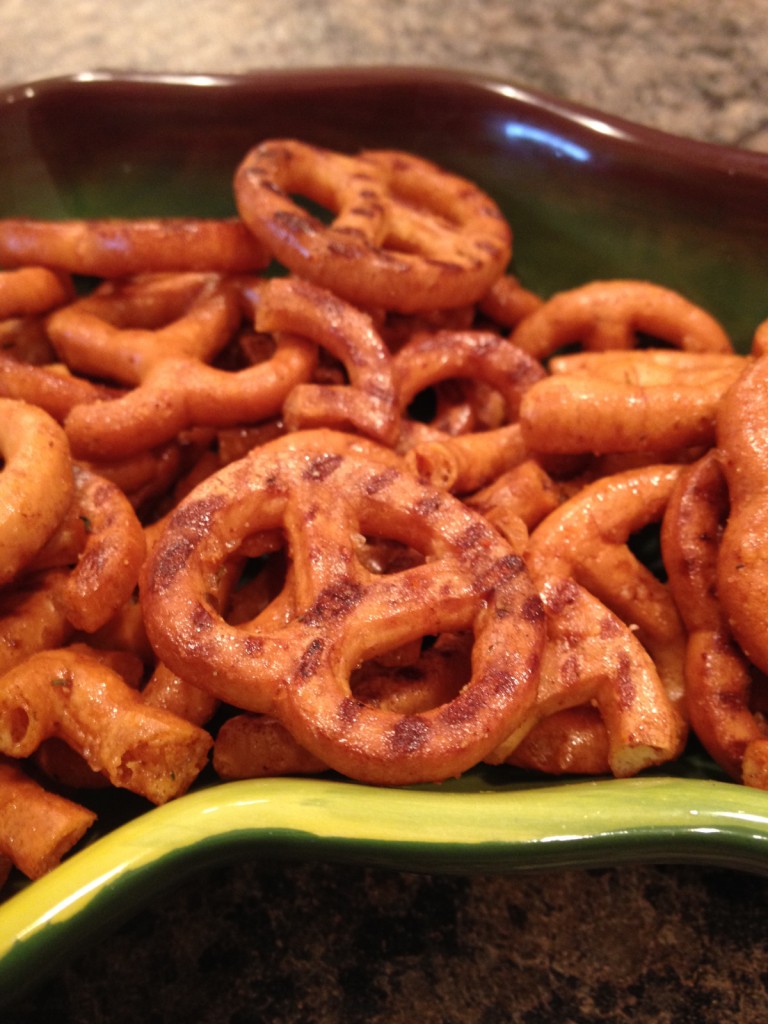 Ever since CD, it has been harder and harder to find food that does not have gluten. And not all GF products are of the same quality. So finding something to snack on is not as simple as just walking down the chip aisle.
That said there are a ton of GF products out there. And there are more hitting the market every day. But with my penchant for the spicy, they are few and much, much farther between. I had to take matters into my own hands.
I’ve always been intrigued by the recipes featuring flavoured pretzels. This is my version featuring GF pretzels and my Cajun seasoning.
Cajun Pretzels
8 0z. GF pretzels (Glutino)
1/3 cup veggie oil
2 tsp Cajun seasoning
1 tsp garlic powder
- Mix all the ingredients except the pretzels in a freezer bag. Ensure the oil and seasoning are mixed well before pouring over the pretzels.
- Bake at 200 degrees for an hour, turning every 20 minutes.
Sep 14, 2015 | Breakfast, Nut Free
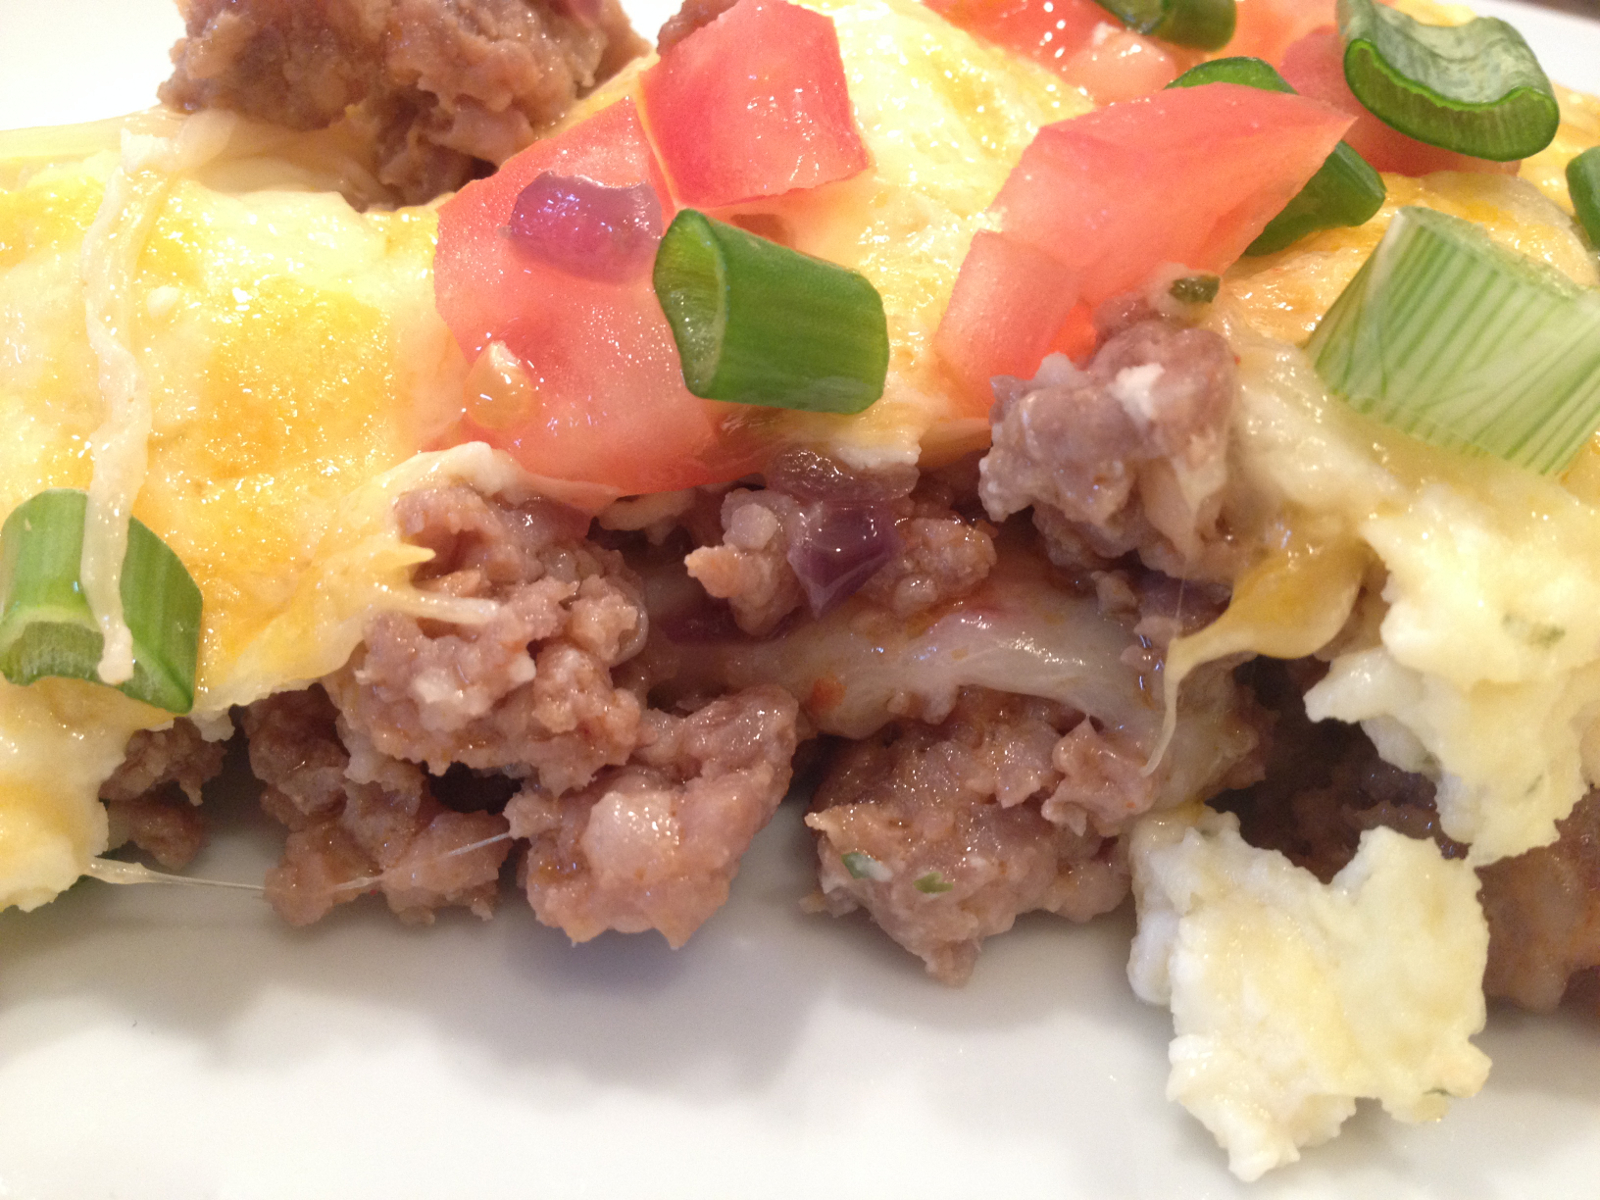
I’m not sure if you’ve noticed yet, but I love breakfast foods and I love pork. Such a versatile meat, bacon, sausage, bacon, roast, chops – it’s all good. When I can combine the two it’s even better!
And one of the other things I like is breakfast casseroles. This is a fantastic new version – based on nachos and fused with Italian flavours. Featuring Italian Baked Potato Chips as the bottom layer, then some cheese and Italian sausage, it’s finally topped with eggs and more cheese. This could just as easily feature Mexican flavours – use Mexican Chorizo, Mexican Seasoning on the chips and Cilantro instead of Oregano.
It all sounds really good and really there’s nothing about this breakfast that doesn’t make me giddy and hungry!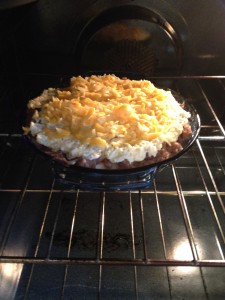
Huevos Nachos Italiano
Italian Baked Potato Chips
8 oz. spicy Italian sausage
1 red onion
8 oz Pepper Jack
4 eggs
1 tbsp minced garlic
Oregano
shredded Cheddar
diced tomatoes
diced green onions
- Make a recipe of Italian Baked Potato Chips.
- Fry the sausage out of its casing along with the diced red onions.
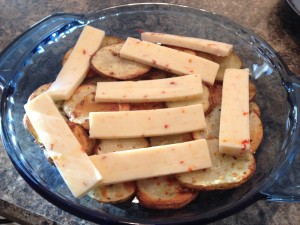
- Layer the chips on the bottom of a pie pan or small casserole pan and then put the sliced Pepper Jack on top of the chips.
- Next layer the sausage and onions on top.
- Scramble the eggs along with the garlic and oregano.
- Layer the eggs and then the shredded cheese over the top of the eggs.
- Bake at 475 for about 6 minutes.
- Once baked arrange the diced tomatoes and green onions over the top. Serve hot!
Sep 2, 2015 | Dairy Free, Egg Free, Nut Free, Side Dishes
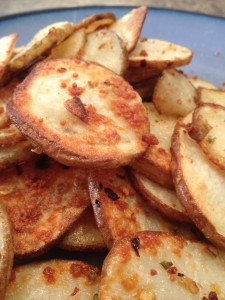 As someone with Celiac Disease, you know that it’s extremely hard to find suitable sides that are quick, easy and don’t cost an arm and a leg. Sure, you can do rice or a baked potato for your starch and there are a ton of veggies.
But I have to admit I really am a meat and potatoes kind of guy, when I’m not scarfin’ on nachos! So it really cooks my corn when a restaurant can’t have a dedicated fryer for their fries when they have GF buns for their burgers. Seriously!? And I digress …
I recently came across a different way to cook a baked tater that’s a bit more labour intensive but just as addictive as the chips out of a bag. And they go great for a new breakfast bake that I will be featuring next week, which showcases how GF does not mean Taste Free!
Italian Baked Potato Chips
3-4 medium russets
olive oil
Parmesan cheese
Oregano
chili pepper flakes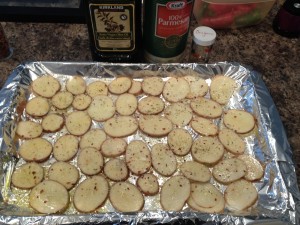
- As your oven preheats to 475 degrees, wash your bakers. Then slice them into chips at about 1/4-1/8 inch thick. You could use a mandolin if you could get the D!*#$%( thing to work!
- Lay them out on a foiled cookie sheet 1 layer deep and brush olive oil all over the top sides.
- Sprinkle on your Parmesan, Oregano and chili pepper flakes. I didn’t put measurements because it’s completely up to you as to how much zing you want in your chips.
- Bake for about 10 minutes on each side. If you’re doing convection, I found 7.5 minutes top side and about 10 on the bottom. That really depends on how thick you cut your chips.
- Serve hot!
Aug 20, 2015 | Breakfast, Nut Free
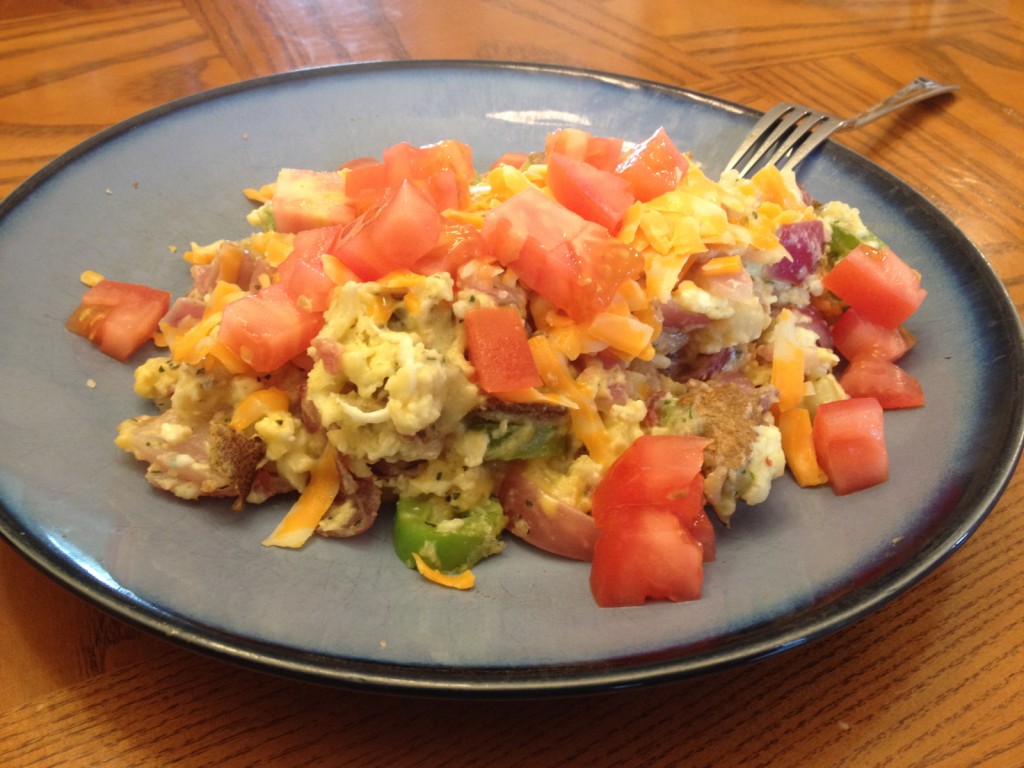
This particular concoction featured fresh jalapenos and a cold baked potato. Hearty to say the least!
We’ve all heard the story about when I was a young warthog … OK, maybe you haven’t heard my version. Either way, I grew up on Mexican food and developed a taste for more spice.
However, in all that time I was never introduced to the delights of the Breakfast Burrito until later in life when McDonald’s of all places started serving them. Then I was hooked and of course that was BCD.
Honestly there is really not much of a difference between a good egg scramble and a good breakfast burrito. One you served with the “bread” and cheese wrapped around the scramble and the other you served with jalapeno jelly on your buttered toast. And frankly your scramble could be very different than mine.
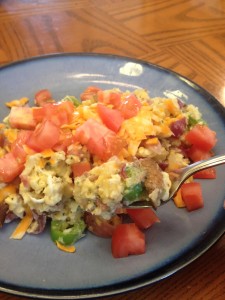 Scrambles, burritos, omelettes – they all vary depending on your individual taste. Therefore, there will not be a down pat recipe for this one. It will be along the lines of a this is how I make my scramble or burrito. And while I can make a mean omelette, like my pizza, I tend to put too many ingredients in them to really call them pizza, er, omelettes!
Breakfast Burrito / Scramble
3 eggs
1 GF tortilla (Udi’s are the best I’ve found)
Cheddar slices
Pepper Jack Cheese
Crumbled Bacon
Cold Tater Tots/Diced Fries/potato
Red onion
Minced Garlic
Cilantro
Cayenne Pepper or fresh Jalapenos
Tomato
- In an 8-inch non-stick frying pan, saute your bacon, onions and spices in a bit of butter.
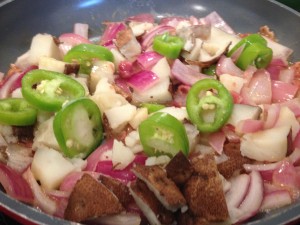
- Once your onions are soft, add in the crumbled tots or diced potatoes. If need be add a little butter to ensure that the mixture doesn’t dry up.
- Crack your eggs right into the pan and add in your cheese slices. Mix and cook thoroughly.
- If you are using tomatoes, this is when you add them so they don’t put a ton of moisture into the scramble.
- Once this is all done cooking, pour it onto your plate and layer a healthy dose of shredded Pepper Jack over the top. Or if you are doing a burrito, pour the mix onto your tortilla that has had the cheese already melted on it!
Aug 8, 2015 | Egg Free, Entrees, Nut Free
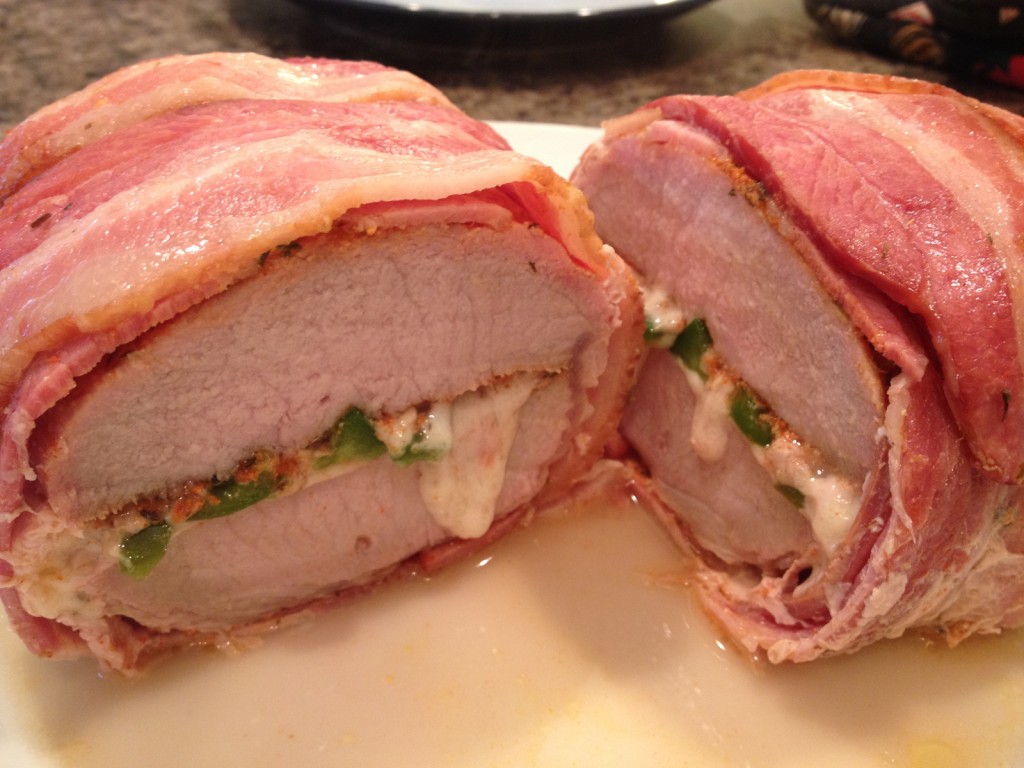
While the bacon may not look cooked, that’s not the case since it was wrapped in parchment paper to keep the loaf together. This also helped keep the juices from just evaporating.
I’m not exactly sure why I need to keep wrapping stuff in bacon. Whether it’s a meatloaf or a jalapeno, everything really is better with bacon. Ok in my case, bacon and cheese!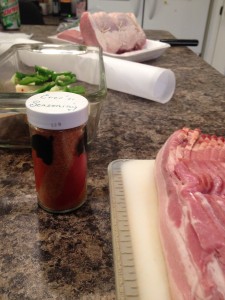
Pork roasts were never really served in my house when I was younger. Sure we did pork chops – battered and fried, maybe some milk gravy. But pork roasts were just not done. Then I got diagnosed and started looking at other types of foods to fill me up, because we all know GF is Not Taste Free. And doing a pork roast fit the bill.
My first variation of a simple pork roast was my Caribbean Jerk Roast. But recently I saw another Celiac blogger talking about bacon-wrapped loaf and I had to experiment. And boy was this experiment tasty!
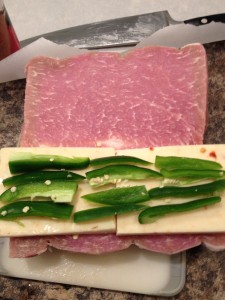
I made a sandwich with Pepper Jack cheese and fresh jalapenos between pork “buns” wrapped in bacon … it was awesome!
Cheesy Pork Roll
 1 pork roast
about 150 g Pepper Jack cheese
1 regular package bacon
2-3 jalapenos or other peppers
Cajun seasoning
- Preheat your convection to 375 degrees while you start slicing your jalapenos into strips, cheese into thin blocks (about a quarter inch thick) and your roast into what looks like a hoagie.
- Place your cheese in the middle and then your peppers on the top of the cheese.
- Fold your pork roll together and pat the roll down with your Cajun Spices.
- Wrap your bacon around the pork roast and then wrap the whole roast with parchment paper before putting it into a meatloaf pan.
- Cook the roast for about 35-40 minutes or until your meat thermometer says mid rare to medium for pork. Remember it will cook up for a bit longer after you take it out.

