Apr 26, 2015 | Entrees, Nut Free
 Back in the day, I used to write a recipe column for a newspaper in North Dakota. At that time I was playing around with the idea for a Tex-Mex meatloaf that used salsa and Doritos for the wet and dry ingredients to add to the ground beef for bulk. Since that time, it’s gone through a couple iterations and other ideas have inspired this creation beyond just a simple Tex-Mex. Obviously AD, this had to be tweaked a bit more.
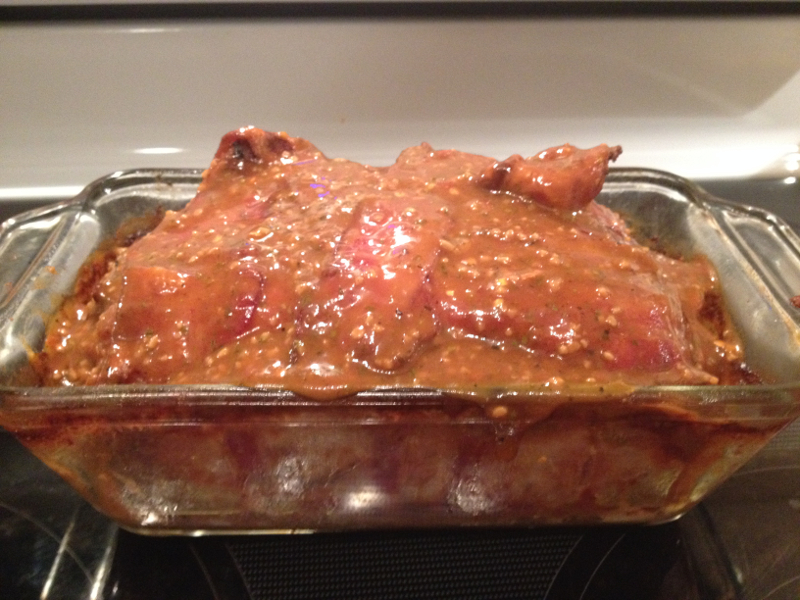
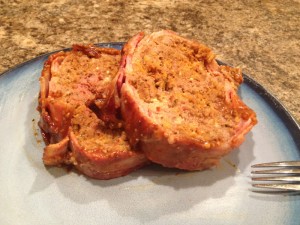
So it’s been enhanced with bacon and some killer barbecue sauce and stuffed with cheese! I love this version and it would make an awful tasty meatloaf sandwich – with GF bread of course!
Tex-Mex Meltdown Meatloaf
1/4 cup Tex-Mex Seasoning
1/2 lb. Pepper Jack Cheese (shred your own to be GF!)
1.5 lb. ground hamburger
1 cup crushed Doritos (I like Jalapeno & Cheddar)
2 large eggs
1 lb. bacon
1/2 cup to a cup of BBQ sauce of your choice
- Mix the all of the ingredients except for the bacon and the BBQ sauce while your oven preheats to 350 degrees.

- Layer your bacon in a loaf pan and then create your loaf inside the bacon so that you wrap it over the top. The best thing would be to create your loaf wrap it and then put the edges of the bacon on the bottom.
- Cook for about an hour – and remember this is for a convection oven. You would likely need about an hour and 15 before you added the BBQ sauce to the top and then cook it for another 10 minutes. The extra 10 is regardless of the convection or not!
- Enjoy!
Apr 26, 2015 | Dairy Free, Egg Free, Nut Free, Sauces & Seasonings
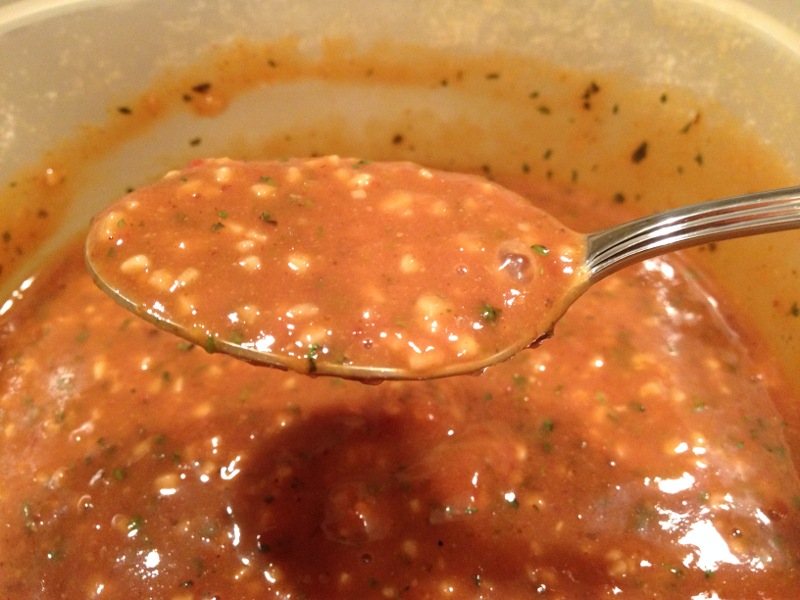
 I have never been a huge fan of smoky barbecue sauce or just straight up red BBQ sauce. So I developed a conglomeration that works in the interim … I may soon develop one from scratch but for now this one is GF and spicy, tangy, sweet and a lovely afterbite!
Bill’s BBQ Sauce
1 jar (298 g) Mr. Sauce Honey BBQ
2 tbsp (30 ml) Habanero Tabasco
1/2 cup (125 ml) spicy sweet mustard (a ground mustard is the best if possible)
1/2 cup (120 g) minced garlic
2 tsp (10 g) cilantro
Mix and enjoy!
Apr 12, 2015 | Baking, Entrees, Nut Free

We’re one layer of cheese away from the final bake – oh, man talk about full meal deal!
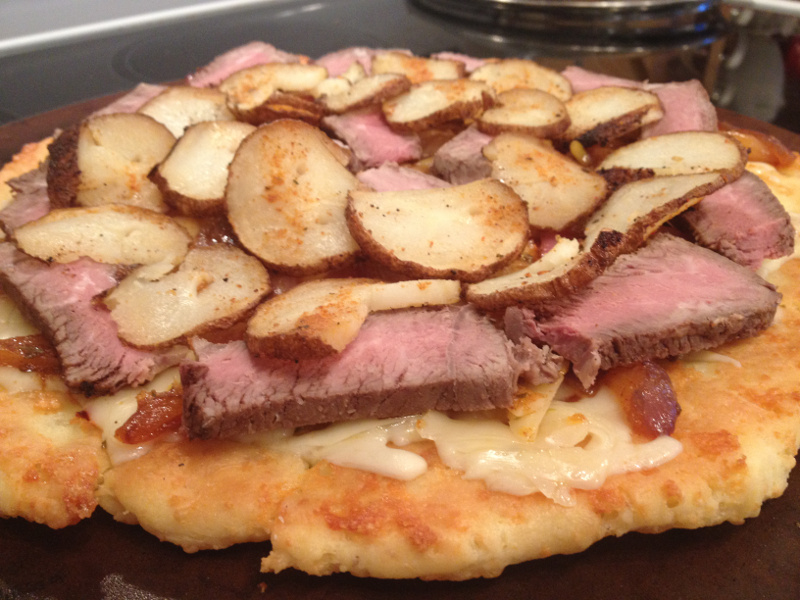
Yes, you read that right! Steak and potatoes or pizza – who said you needed to choose? While I love a good steak and potato dinner, putting it on pizza just put this whole thing over the top. As you might have guess from this site, I am a sucker for fusions of flavours. And one of my favourites has to be Italian with Cajun as with this pizza.
The only thing I have to warn you about is that it takes a bit of prep. But the results were oh so awesome!
Blackened Steak & Potato Pizza
1 recipe Brazilian Pizza Crust
8 oz (225 g) steak
1 large russet potato
Pepper Jack cheese (shredded by you – guaranteed GF that way!)
Provolone cheese (slices)
Cajun Seasoning
Olive Oil
Red Onion (optional) or Cola Cajun BBQ sauce
Chives
The first thing to do is make your Cajun Baked Tater …

These would be good even if they weren’t on the pizza!
- Pre-heat your oven to 425 degrees while you start to slice your baker. You’ll want to make each slice about 1/8th of an inch thick but not all the way through on the bottom. Leave about a quarter of the potato on the bottom. You could use toothpicks to keep the sides together if you cut through the potato to the bottom (like me!).
- Drizzle the baker with olive oil and a healthy amount of the Cajun seasoning. Bake for about 50 minutes – remember, it will cook up a bit more on your pizza when it is in the oven.
Now to assemble the Cajun Steak & Potato Pizza – while the baker is in the oven you can start working on the other components …
- You might want to cook your steak before you start working on your pizza dough. The steak is best pan fried with lots of Cajun seasoning. And this is where you should make the choice of onions cooked with the steak or using the BBQ sauce for the base of the pizza.
- Cook the steak to a little below the rareness that you like – it will cook up as it sits as well as in the oven (like the potatoes). Cut the steak into slices about a quarter inch thick.
- After you’ve done your first bake to set the dough, layer in the following order: Provolone slices, BBQ sauce and then steak or steak and onions, potato slices and then topped with Pepper Jack. Then into the oven for the final bake.
- Top with chives and serve immediately!
Apr 8, 2015 | Reviews
Bread, bagels, tortillas, cake, cookies, pizza … the list goes on and on of items that you supposedly cannot have as soon as you’re diagnosed with Celiac’s Disease. BCD, I didn’t worry about where I was getting bread or what kind. Of course that changed immediately ACD.
Fortunately we now live in an age where Gluten Free or Paleo has become a fad diet for most. Unfortunately, there are a lot of us out from whom it is a necessary evil that we have to live with every Girl Guide or pizza filled day. Alternatives are a priority and I searched for quite a while among different brands before I found some non-local bakery options that were cost effective and good! The best among those (and the reason I haven’t searched for different options) is the fantastic GF brand –
Ratings: 4.5 out of 5 Peppers – the only reason they didn’t rate a perfect score is a few personal preferences.
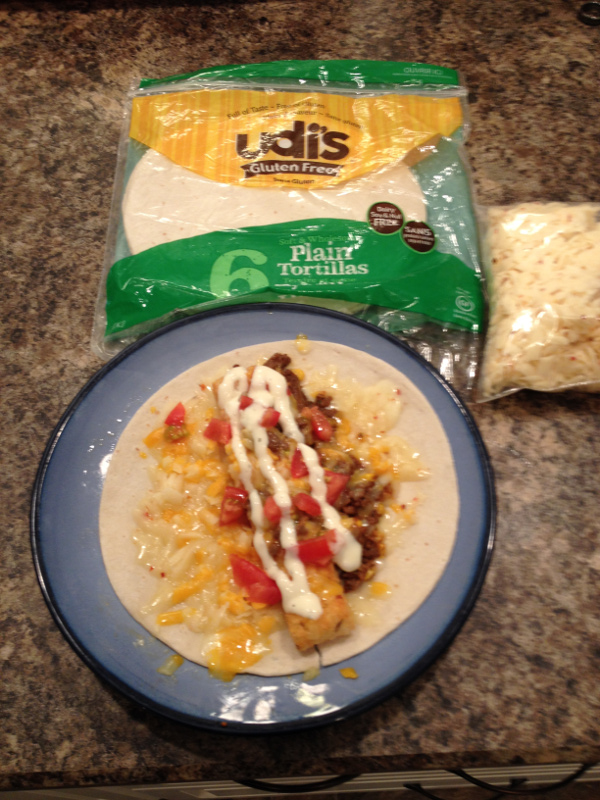
Product Offerings: Breads options such as Bagels, Rolls, Tortillas & Bread (of course)!; Dinner options such as Pizza Crusts, Frozen Meals & Burritos; Desserts such as Cookies, Brownies and Cinnamon Rolls
Taste: For this, I will divide it up as I did for the selections above. So to begin with, let’s talk about Breads.

Pre-rollin’ and lookin good!
I have not tried everything in their bread options simply because my local grocers have not had all the options. That said what I have tried is the Plain and Whole Grain Bagels and the Large Tortillas. And everything that I’ve tried has been outstanding. I will use both of these primarily for breakfasts such as the tortillas in a breakfast burrito. The taste and texture are superb, not waxy like certain other brands (lookin at you Good for Life). While GF tortillas and bread in general lack the pliability that Gluten provides wheat filled products, Udi’s tortillas come the closest to folding like a regular tortilla. And the trick with the bagels, microwave them for about 30 seconds and they are perfect – soft and not too dense.
As far as breads go, I found Glutino breads (a sister company of Udi’s with Boulder Brands). I got hooked by Glutino’s Cheese Bread and haven’t needed to look for anything else. The only complaint I have with most GF options is portion sizes – they are usually about half as big as their Glutenized counterparts.
I have tried a few of the no name grocery bread products – don’t do it! Go for Udi’s or Glutino – they might be a bit more expensive, but they are worth it.
I haven’t tried a lot of Udi’s Dinner options outside of their Pizza Crust. Unfortunately the only pizza crust option that I’ve found that I would 100 percent choose over any others is my Brazilian Pizza Crust recipe. Every other crust is thin and smaller than necessary. That said, Udi’s crust is still good in a pinch and better than most pizza joints simply because you can actually top your pizza rather than the sprinkling that those places do.
What comes after dinner? Dessert! I recently found Udi’s Salted Caramel Cashew soft-baked cookies – OMG! The only problem I had with them is that I ate them too quickly and there weren’t enough in the package for me to have more! If you weren’t told they were GF, you wouldn’t have a clue. So GOOD! The only other item I have tried so far in the dessert category has been the Cinnamon Rolls. As far as cinnamon rolls go, they would be better with cream cheese frosting rather than the sugary glaze included. And they can be a bit tough or dense if you over or under cook them.
All told, Udi’s Gluten Free is a brand I will recommend to any one who asks.
Apr 1, 2015 | Dairy Free, Egg Free, Nut Free, Sauces & Seasonings
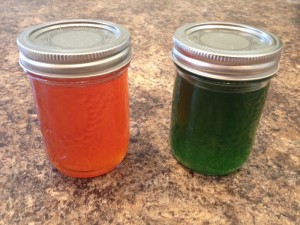
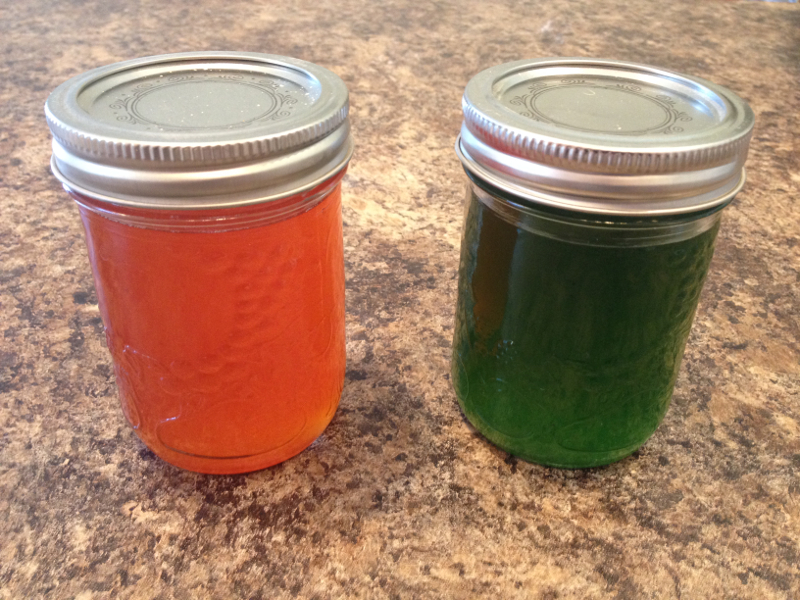
The jar on the left is Habanero Jelly and on the right is the Jalapeno Jelly. The jelly should last for quite awhile – this jalapeno jelly was still good after three years. Be careful about preparation and sanitation though if you plan on keeping it that long.
When I was a young warthog, er, when I was a young boy, I loved Peanut Butter and Jelly sandwiches. Grape was my favourite flavour. As I got older, it was a guilty pleasure at times, but of course that was all BCD. So as a guilty pleasure goes, it went out the window.
Of course PBJs are not the only way to enjoy jelly. And it definitely is not a great way to enjoy Pepper Jelly. This spicy sweet goodness goes amazingly well with cream cheese and bagels or a personal favourite is with cheese ball and crackers – obviously both the bagel and crackers would be GF!
Pepper Jelly
2 pounds (900 g) peppers (Habanero for really hot jelly or Jalapeno for a milder jelly)
2.5 cups (625 ml) apple cider vinegar
2 – 1.75 ounce (100 g) packages powdered pectin
10 cups (2.2 kg) sugar
- Wearing rubber gloves, take the stem off the top of peppers and puree the peppers as fine as possible in a food processor.
- Combine the puree and 4 cups water in a large non-corrodible pot and place over medium heat. When the liquid comes to a simmer, reduce the heat to medium and cook for about 10 minutes, stirring occasionally.
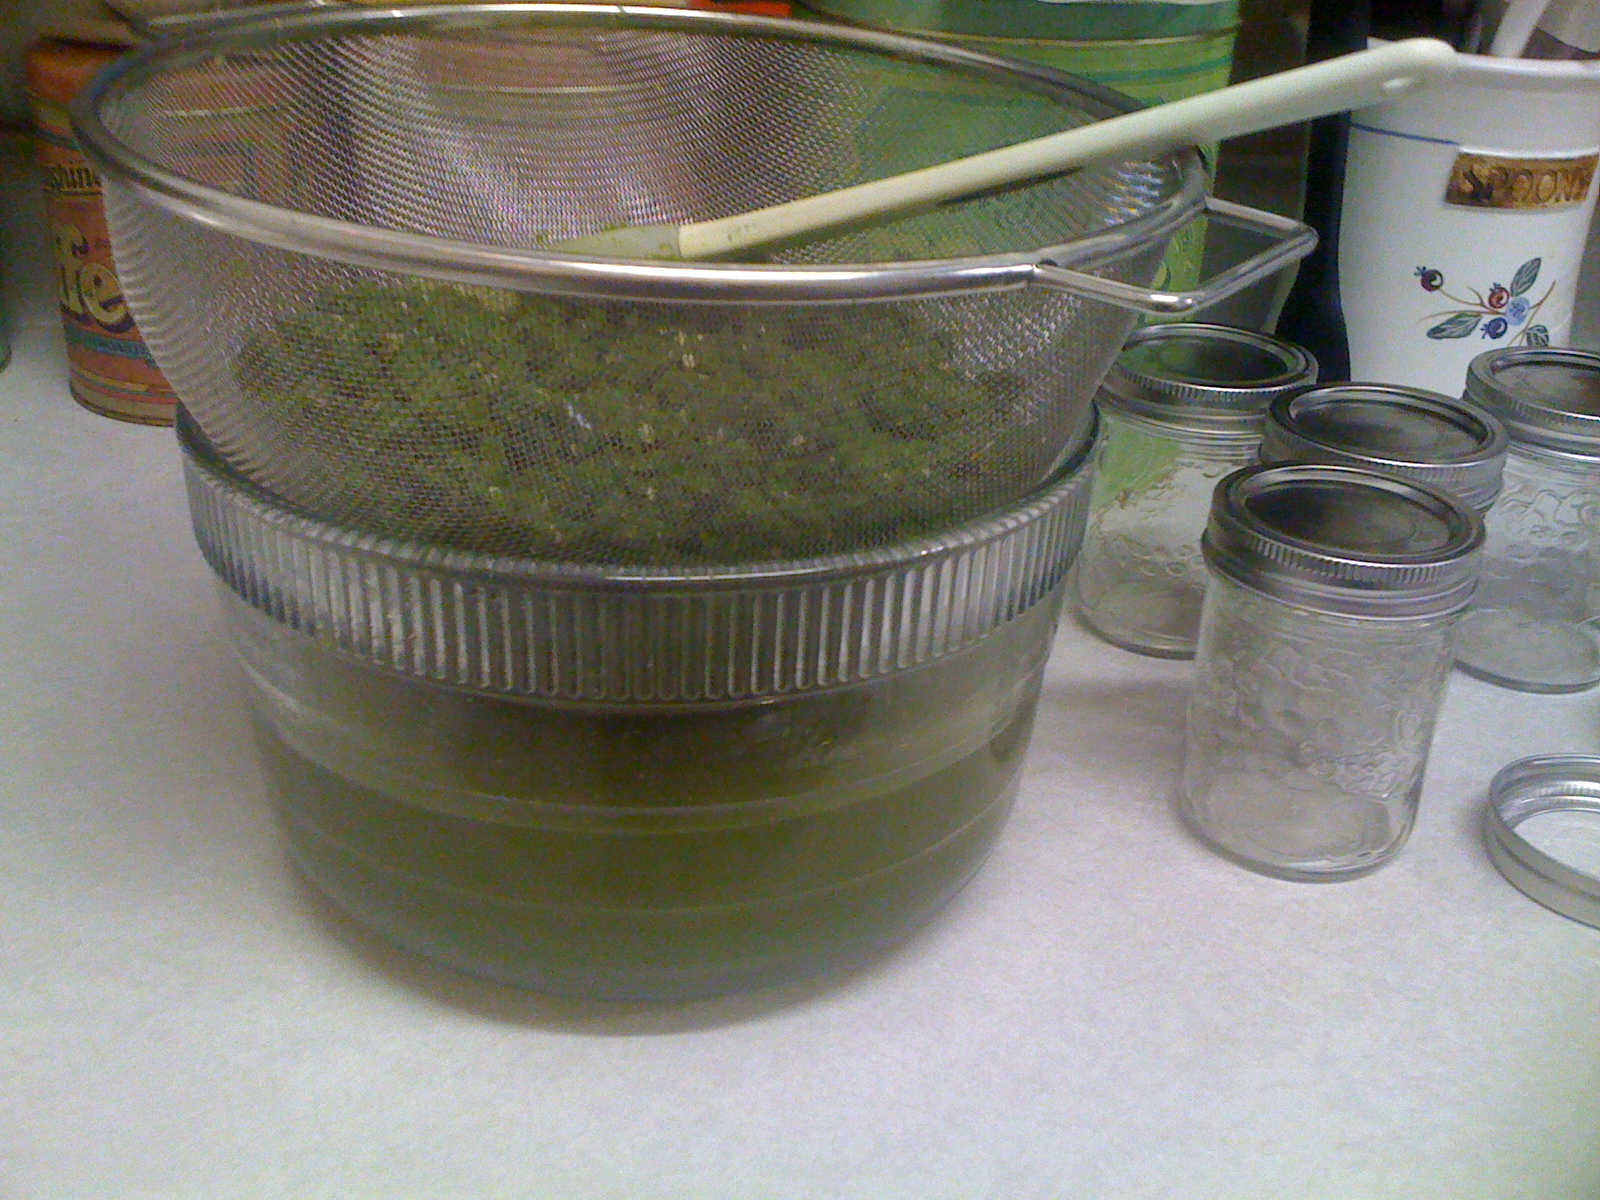
- Pour the hot puree into a jelly bag or a strainer lined with a dampened cheesecloth. Let the juice drip for an hour, stirring occasionally.

This would be the straining process. I didn’t bother with a cheesecloth because in this case I have a fine mesh colander that works just as well.
- Pour the strained juice into a non-corrodible pot; there should be approximately 4 cups. Add water equal to this amount. Add the vinegar and pectin, stir well.
- Bring to a full boil and add the sugar. Bring the contents to a boil that cannot be stirred down and stir for 1 minute.
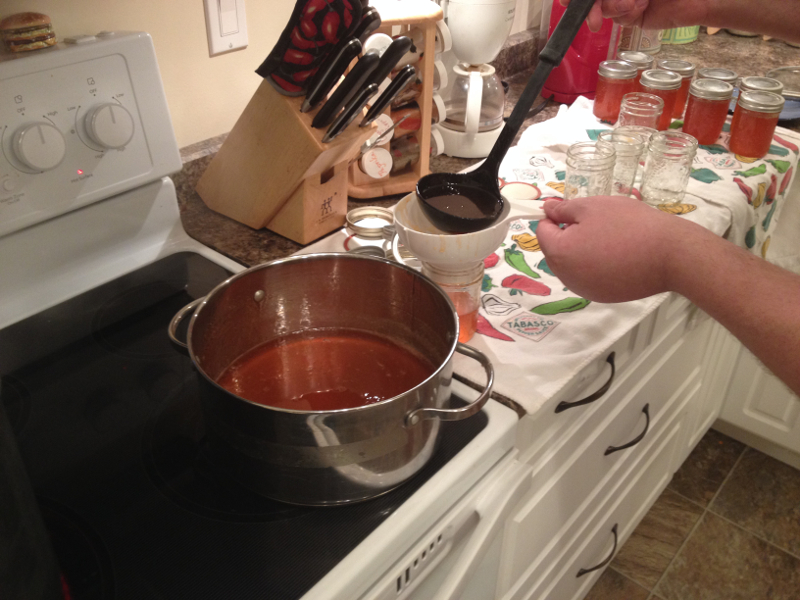
- Immediately ladle the hot liquid into hot sterilized jars, leaving ¼ inch headspace, and seal. Refrigerate any jars that do not seal and use within 2 weeks. Note – if you don’t like the colour, you can add a little food colouring. That won’t alter the taste or texture.
Precautions:
 Back in the day, I used to write a recipe column for a newspaper in North Dakota. At that time I was playing around with the idea for a Tex-Mex meatloaf that used salsa and Doritos for the wet and dry ingredients to add to the ground beef for bulk. Since that time, it’s gone through a couple iterations and other ideas have inspired this creation beyond just a simple Tex-Mex. Obviously AD, this had to be tweaked a bit more.